 People ask how to start batik without making a big investment in supplies. I will have to recommend getting some old sheets, some RIT dye or ready-mixed dye at your local craft store, along with paraffin wax and cheap brushes. (DharmaTrading.com has extensive supplies and that is where I purchased my tjanting tool.)
Buy the primary colors of your dye: Red, blue, yellow — and from them you can make infinite combinations. You will also need something to keep your wax hot. An old electric frying pan works well, and wax can be heated in a double boiler. Never put wax directly on the stove, or overheat it, as wax is extremely flammable. You can make something to stretch out of canvas stretchers, or as I have done in my studio, I have added 2x4s and 2x2s to plywood so that I can stretch larger fabric over that to apply the wax.
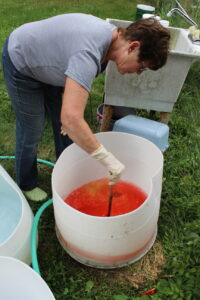
After you have applied your design with a brush or a tjanting, it is ready for your first dye bath. If you want to start with very small batik, you can actually dye fabric in a mason jar. As you get to a larger size, you will probably want to get plastic pails. Immerse your fabric in your dye bath starting with the lightest shade that you want to use, and stir it frequently to keep the color even. The batik should remain in the dye for 15 minutes to half an hour, depending on how strong the dye was mixed and how dark the color is.
After your fabric is appearing a shade darker than you desire (because it is wet), remove it from your dye bath and rinse thoroughly in a tub or sink. At this point, I would normally add a setting stage to my dye process, but as you’re learning, you won’t need to do this.
Once your fabric is dry, you can add another stage of wax to it. And when you’ve finished your design, go on to another dye bath in a slightly darker shade. Here you will notice that some colors are complimentary and will make a nice new combination as yellow and red will make orange. The opposite is true. If you take red and green, you will make brown. So you may want to use test strips as you get ready to dye your fabric. I will do many stages of dye baths as I’m moving on, and at a certain point in the process, very often I will bleach sections out so that I can use colors that would otherwise make a muddy shade.
You don’t need to make a complicated batik with ten dye baths and tons of color combinations. You can remain simple, especially in the beginning. Another thing that you can try is painting dye or even colored inks on small sections of your design, where you have little areas surrounded by wax. This can give you some bright accents of different colors that after they are dry, you can protect with wax and avoid doing a whole dye bath to get these little jewels of color.
When you are satisfied that you have reached the end of your dyeing, your batik, when dry, will be ready to iron out between paper towel and newspapers, or plain newsprint if you can find it. In the pictures below you will see me ironing my batik out between plain newsprint. If it has print on it, the print can be transferred to the fabric, so never have a newspaper next to your artwork. You can keep it away with paper towel.
After you have ironed as much as you can out, the batik should be completed. The iron also acts to set the dyes a little bit more, and your batik will be ready to frame, add to a wall hanging, or make something fun out of.
My batik process is much more complicated and if you find you like doing batik, I would urge you to go to my other tutorials in my website to see the many other things I do in mixing dyes, painting, setting dye, wax etching and multiple dye baths.
-
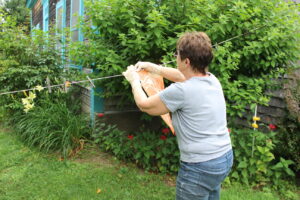
- Attaching fabric to stretching bars
-

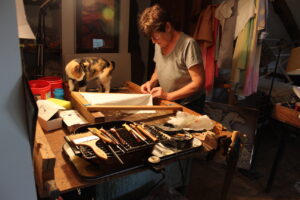
- Applying wax with the tjanting tool
-

- Applying wax with the tjanting tool
-
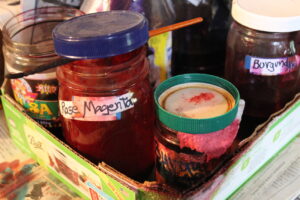
- These are small jars of dye that I use to paint areas of my batik from
-

- The first dye bath
-
- Out of the dye
-
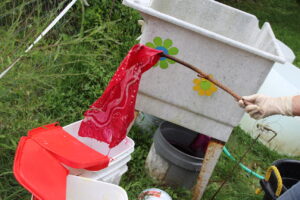
- Rinsing out the dye
-
- Hanging up to dry
-
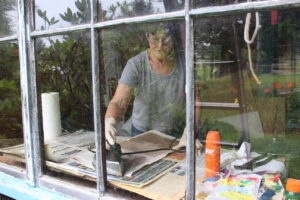
- Ironing out the wax
-

- Ironing out the wax
-

- Ironing out the wax
-
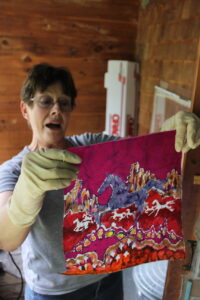
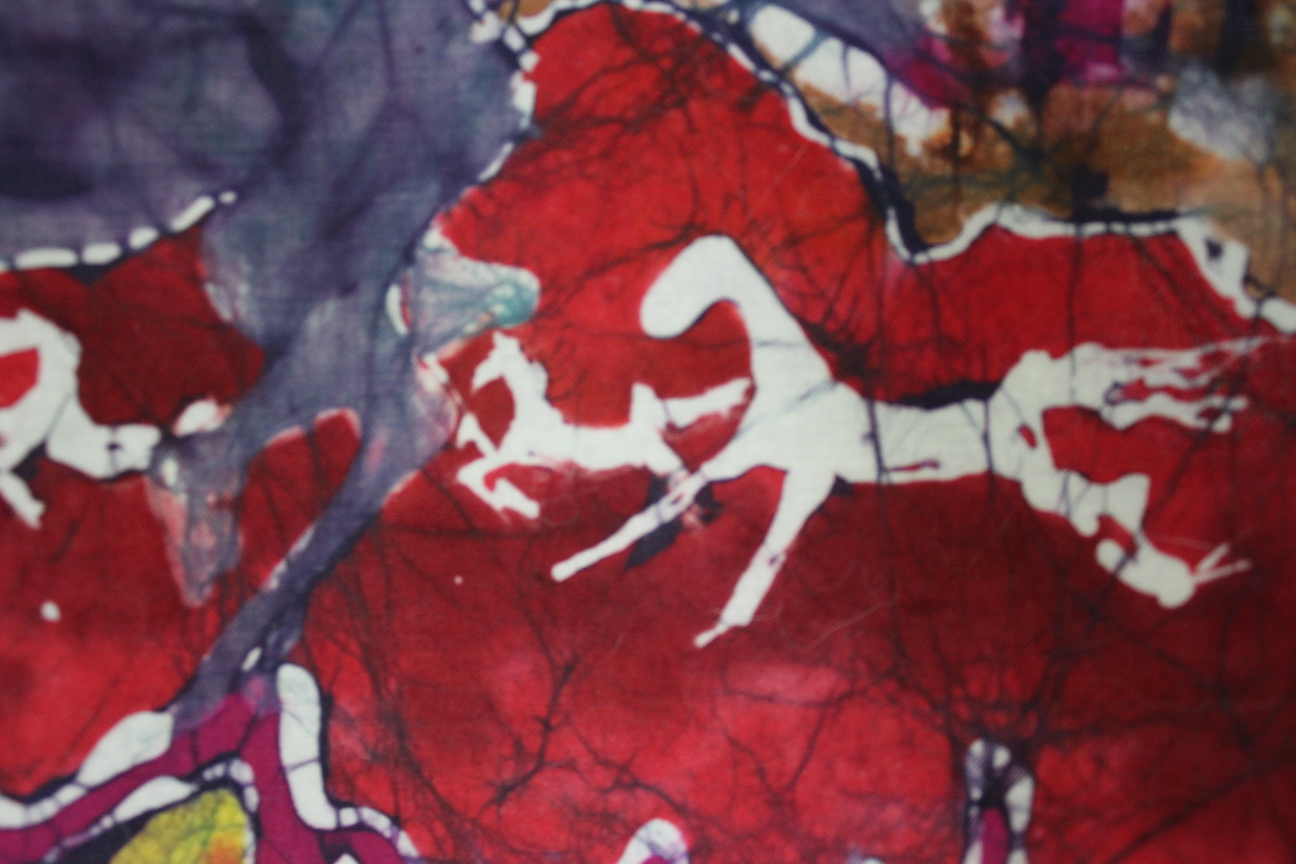
- A finished batik – ta da!
another comment Carol, Can you please answer me, how much dye do you put into a 8 oz mason jar and how much water? Can you please tell me can I use the dyes in the jars like painting them with a brush? OR Do I have to use it by putting in soda ash? thanks
Hi Linda, I am not too scientific , a dollop is usually good. The jars you see in my post are for painting on dyes and then are set with special dye set, then removed. Every time I mix them I go to the directions at Dharma trading and adjust. I dye large pieces in large pails and if I have many to dye at once I add soda ash. Otherwise I may soak the fabric ahead and after some soaking time add it to the dyebath and stir. The dye bath can usually be used again with this method.
Carol don’t you boil out your designs? I find that now I am doing tee shirts, I have to boil out the remaining wax. I tried it on top stove that was a big chore to do it for me, and the 4 hours in the heat, is a killer in florida. My air conditioner went out this week so in 85 degree weather I am boiling out the wax, but I will have to try to find another way of doing this. Yes for beginners take old sheets or ask friends for their old tee shirts. You can get some really nice ones from NY Fifth online cheap, like 5 bucks maybe sometimes at Epic sports for 1.99 white tee shirts… in Epic sports their tee shirts run very small so if you go with xxL its more like a size small, the bust line to the tee shirt is only 26 inches wide not really good unless you are a teenager with not much boobs.. Not for us “busty” women. I do like NY Fifth. IF you order from them their Sizes are True to size, if you need Medium, Large or XL, get it, they will shrink a bit after washing them. But try it, Carol is right in all her batiking…If you are not professional like Carol is, then try it you may like it, I love it now, The only thing I am having trouble with is the dyes, I keep on tasting salt in the air.. I do this outside but the dyes have some salt to them… and I DO wear a Respirator mask with double mask as well. So have fun… try it
Just seeing this today Linda. I do not dare try boil out the wax in my old home and no good place outdoors. Many do and it does get out all the wax… I would enjoy seeing your batik T shirts….
Glad you are protecting yourself Linda. Best to creating!
Carol